
Rocky road to refinement

 Days passed…
Stuck hard to my design guidelines I was still away from even a tiny sketch of the device. I was sure the direction but the horizon was covered by haze. I could recognize the overall shape but unable to see in details. And the devil is in the details.

Working with form is like sculpting in clay; early stages of process give more freedom in reshaping but often it’s double-edge sword: you end up a day devastated by endless versions of nothing. And there’s no place for shortcuts. You can go on with refinement and detailing ONLY after previous stage is done. Every missed step will be only magnified by the next ones.


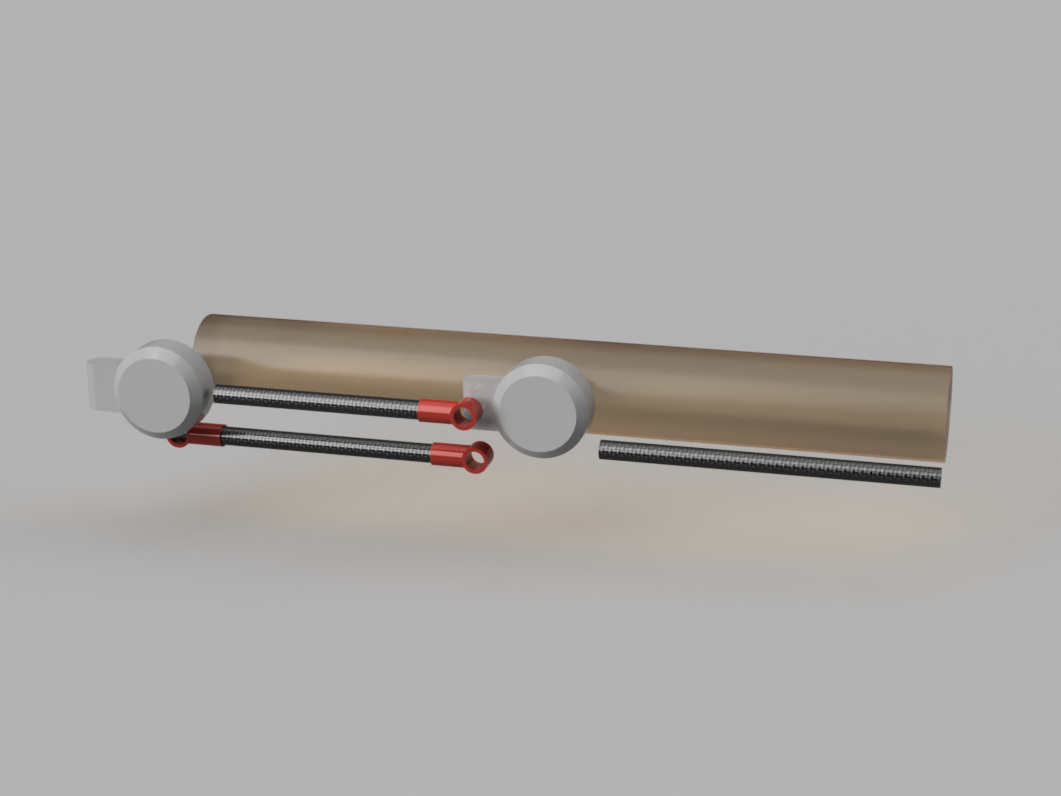
I experimented a little with double bar design similar to Magic Arms, but being still unsatisfied I came up with the idea of hiding whole positioning “drive train”. This is what I like! The devices that are hard to figure out how they actually work! I did one more design choice: to achieve 180 degrees of motion. Its unnecessary in orthopedic applications but good thing in further development. If nature is excessive so do I! Exoskeletons are one of the purest examples of mimicking nature and it’s good thing to keep in mind dealing with them.
Another thing I had to face up was indescribable lack of space. I don’t consider myself as an artist but always try to do engineering in arty way. I wanted slick design period. Fitting everything in 30mm tubes and not very larger end connectors wasn’t an easy task and required angelic patience and some evil spells.
 Finally something started to emerge from nonentity mist. I was quite happy with the shape it took.


Comments

Popular posts from this blog

The screw

Initially all the parts were intended to be printed on desktop 3D printer. This is good approach taken from e-Nable organization – they print prosthetic hands for kids out of charge. Beside being easily available everywhere around the world (thanks for printing services like eg. 3D Hubs) and being relatively cheap desktop 3D printing has its weakness: limited quality. While in most usual cases it’s not the problem (believe me, for most applications desktop printer quality is just great), in arm exoskeletons is one of main factors responsible for locking and jerky movement. Iteration after iteration it was clearly visible that I wouldn’t design another clone of 3D printed WREX. And it wouldn’t have been even possible… Always focused on users comfort and fun of wearing supportive exoskeleton I’ve been trying to keep it slick and friendly. That’s why I reduced number of components and screws to minimum. The less screws means other joining methods must be utilized and this is the reaso...

Deeper into mechanics

 Lets take a closer look into the mechanics of the device. First of all: how to transfer moment from distant counterweight to arm module? Simple answer: by cable.  OK, it’s just the beginning of “The Cable Story”. I don’t mean electric wire – the device had to be mechanical only, no motors allowed! Other type of cable is Bowden cable that transmits mechanical force or energy. In some aspects similar to double rod design but flexible . Flexibility means total freedom of placing active device – on the back of wheelchair, on tripod, under the bed. And saves space around passive device at the same time, so helps in achieving second goal – opportunity of mounting directly to corset. I was asking myself if it would work, it should, but thanks to rapid prototyping I could empirically test it. I speed-designed and 3d printed proof-of-concept prototype with 5mm bike derailleurs cables.  It works but bike metal cords are to stiff to be used in next prototyp...